Tie Dyeing Party

IMG_8781.jpeg

It’s been a weird year and definitely less eventful than planned. I imagined seeing people a whole lot more than I did, for sure. Now that the weather is about to get chilly and Summer 2020 is coming to an end, I thought: why not do something fun and creative and with everyone outside while we still can!? This mid-September weather is perfect and and I’m all about taking full advantage of it!

IMG_8845.jpeg

I gathered a few of my close friends and we had a such a great time. We had hand towels, tea towels, socks, and bandanas (most of us have dogs to sport these) for everyone to dye, plus most people brought their own stuff as well! From shirts, sweatshirts, pants, onesies, and bedsheets, everyone got a chance to get creative and so many fun color combos and patterns were created.

8129ACAB-620D-4AB9-B3C8-AE93CB7F6315.jpeg

I decided to use Rit Dye for this party instead of using a tie dyeing kit. I’m sure a tie dyeing kit would work great, but I wanted less neon and more neutral options.

IMG_6171.JPG
IMG_6173.JPG

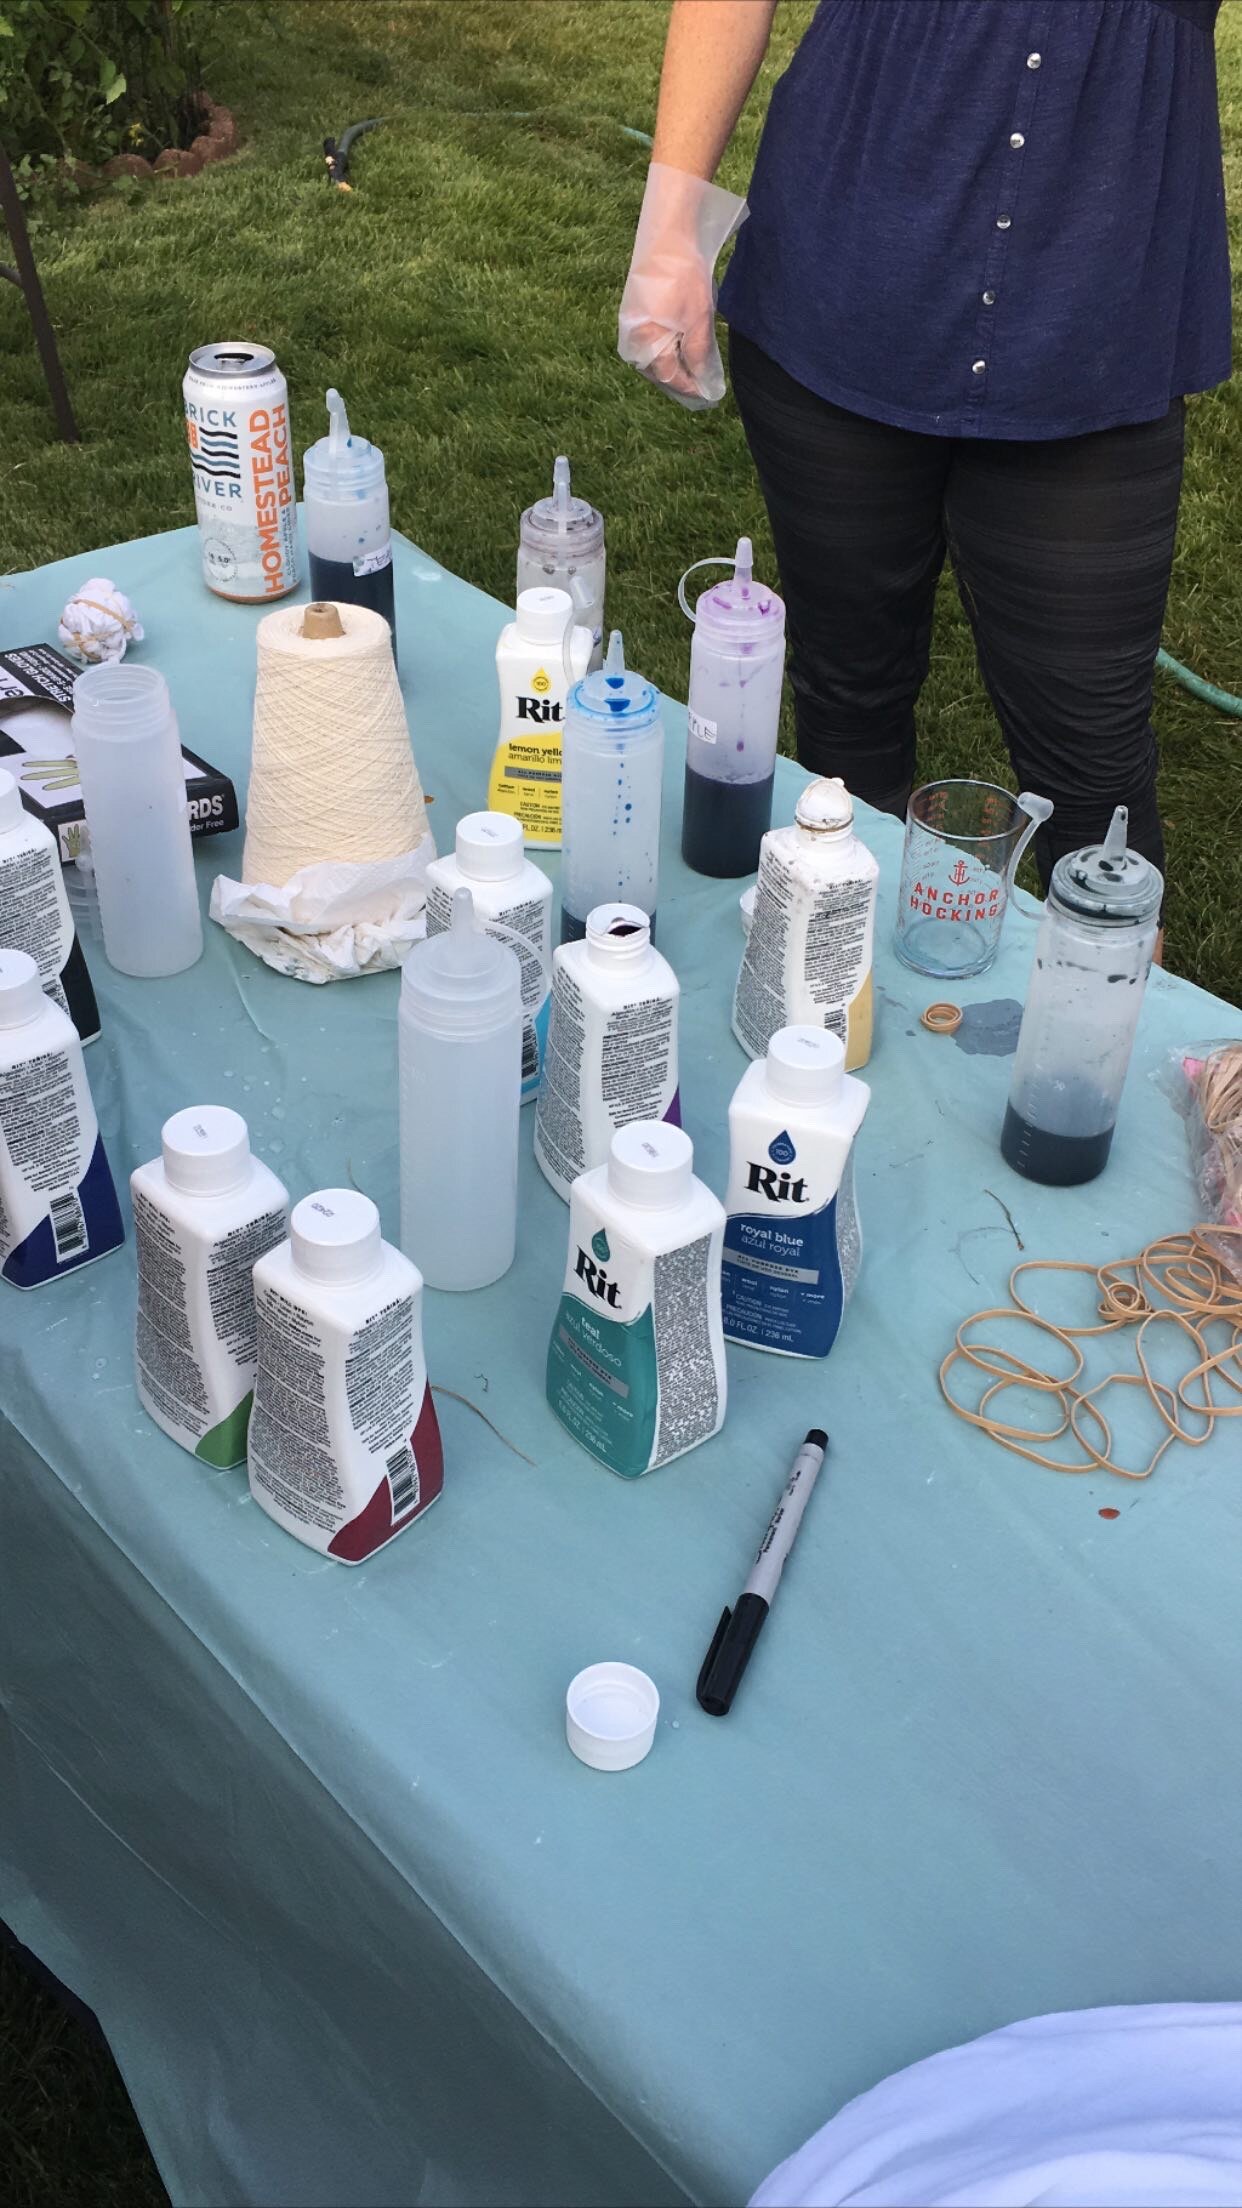
I got a pack of squeeze bottles to mix the inks with water in. Putting blank labels on ahead of time definitely helped so that we could write the colors on the side as we made them.

B0EF6BD0-4A02-485D-86C7-988041AD1FA9.jpeg

We used cooling racks as dyeing racks to elevate the fabric from the grass a little. Keeping a hose handy was necessary for this process! We could easily wet our items before dyeing, as well as rinsing off the dyeing racks in between dyeing.

66D28B15-EC5D-4EB6-BD93-1EFBC9C93856.jpg

Next dye party I’ll have to make a proper dye setting station ahead of time. The dye needed to set in the fabric for at least 30 minutes.

After the dye set on the fabric for a bit, we mixed up the Rit Dye Fixative with some water in an old sriracha bottle and covered our fabric with that.

And here are some of finished results!

34959D96-E762-43EF-93C8-79EC0983C8A9.jpeg
10162DB8-D478-4307-8CC4-5FF533F695B4.JPG
83D30AE4-B418-4478-9AB1-CC36EB2F019D.jpg
850C12D4-67BC-47ED-B303-06BCFFF7EF94.jpg
6607C65E-4582-4368-A984-8940821D4A6C.JPG
IMG_8838.jpg
IMG_8836.jpg
IMG_8839.JPG
IMG_8840.jpg
IMG_8841.jpg

DIY Succulent Planter

ACS_0553.jpeg

I bought this terra cotta planter pot from IKEA a few months ago, but since I use it outside where it gets watered with the hose or rain, it needed to be able to drain, so I didn’t need the saucer underneath of it.

rtterra.jpg

I’ve seen succulent planters in the plant section of hardware stores a lot and I always thought they were so cute. I decided to turn this terra cotta saucer into a succulent planter for my dad! He has so many succulents, I knew he’d be able to fill it.

IMG_6961.JPG
IMG_6962.JPG

I started by using a compass to measure and draw some squares evenly spaced across the outside for me to paint. I also used the compass to measure where to drill my holes in the bottom for drainage. I drilled about 6 holes in the bottom of my planter using these drill bits.

Adjustments.jpeg

Next up, I picked out my colors. The paints that I used are called underglazes that get fired in the kiln.

(Typical 2020 picture with hand sanitizer in the background.)

8EF5BEAD-A807-4615-A48D-219197AC0B6D.jpeg

Here is the planter after I painted all of the squares. You can see my pencil markings from mapping them out. Following this, I loaded it in the kiln, and that was it!

ACS_0554.jpeg

My dad has the cutest succulent/rock garden right outside of their basement door. I knew he’d have enough succulents to fill it up so I left that part for him. (I think he has fun mixing up different plants in the same planter!)

ACS_0555.jpg
ACS_0556.jpeg

I think it turned out super cute and now I just want to paint more terra cotta pots!

Thanks for reading!

xxBrigit

Weaving looms

Each weaving that I make is handmade every step of the way, including the tools I use to make them. I’ve been making my own looms since I began weaving in 2014. I’ve tried a few different ways of making looms, and the kind I use now has been my favorite so far. I use oak to make both my looms and weaving tools, as it is a harder wood and is less likely to break.

IMG_5572.jpg
IMG_5561.jpg

To start, I use oak 1x2’s and cut them to the lengths that I need. I then use a ruler and mark where each notch needs to be. Using a bandsaw, I cut each notch. After that comes the assembly.

IMG_5565.jpg
IMG_5567.jpg

Following assembly, I sand all sides. I actually really enjoy this part because I love making it smooth.

IMG_5569.jpg

I use coconut oil to finish it off, rubbing it into the loom. I love how it makes the grains and the natural color of the wood pop. You can see the difference between the areas coated in oil vs. the areas that are not (the right side and the bottom right half side).

IMG_5585.jpg

On the sides of the loom I use Quirky Bandit Rubber Bands to hold my weaving tools as I weave.

Sprout saw there was a photoshoot going on and had to join in. Thanks for reading!

xx Brigit

Prochronismé

Prochronismé was the first large sculpture that I made in Spring 2016. At a popular intersection in Cape Girardeau, near the college campus, is Broadway Prescription Shop. The shop owns the grassy area right at the intersection, and they decided to pour a concrete slab for sculptures to rotate on display. The owner of the shop decided to give a grant each year to a student in order to fund a sculpture for that location. In 2015 I came up with a sketch, made a proposal for a possible sculpture, and I was chosen! For one semester, I worked on creating this sculpture (along with tinkering around on other smaller sculptures, of course).

Prochronisme 001.JPG
Prochronisme+002.jpg
Prochronisme 005.JPG

After a year of being on display, my dad came down to Cape Girardeau and helped me bring the sculpture back to my parent’s house. We poured a concrete slab in their backyard and bolted it down. Yard art! I think it looks great there.

Prochronisme 003.JPG
Prochronisme+004.jpg

A couple weeks ago my dad helped me bring Prochronismé back down to Cape Girardeau to be on display outside at Southeast Missouri State’s River Campus. The back of the campus faces the Mississippi and is such beautiful place. My sculpture professor had 3 concrete slabs poured outside to bring more art around the campus. My sculpture and two other previous student’s sculptures will be on display there for a year, and then mine will be brought back “home” to my parent’s house.

My friend Deanna helping me spin the sculpture to find the right angle.

My friend Deanna helping me spin the sculpture to find the right angle.

My professor, Chris Wubbena, and I discussing the best angle of the sculpture.

My professor, Chris Wubbena, and I discussing the best angle of the sculpture.

View of my sculpture from the top steps at one of the back entrances into the building.

View of my sculpture from the top steps at one of the back entrances into the building.

IMG_3228.jpg
Me and my dad :)

Me and my dad :)

ACS_0190.JPG
Image taken by my professor after the grass was added around the slab.

Image taken by my professor after the grass was added around the slab.

Why a website/blog?

Hi! So if you know me, you know I like to make stuff. It doesn’t matter what, but I love to work with my hands and see what I can create. My interests and mediums that I use are pretty broad; working on one thing can lead me to new ideas or a different perspective for the other mediums I work with. And I LOVE variety. I love mixing up what I do.

I often have people ask me about what I’ve made recently or what I’ve been working on. This is why I decided to create a website/blog, because if i’m being honest, I take way too many pictures of my dogs to be scrolling my phone to find certain pictures all the time. I’ve never been much of a writer, nor have I ever really enjoyed it, but I have a lot I want to share and I want a place where I can lay out all of my ideas, thoughts, creations, life, etc., as well as getting more comfortable with my writing.

I am hoping, through this website and blog, that I can keep people updated on my life and projects, as well as share my interests with those who are interested. Thanks so much for checking it out!

xx Brigit